My 5 Favorite Tips: Master Bathroom Edition
Whether you are planning to design a master bath for your soon-to-be-built home or are remodeling your current master bathroom, this post will show you how to create a master bathroom you will love. I will show you two of my favorite projects as examples, a contemporary remodeled master bathroom, and a traditional new-construction master bathroom!
Tip # 1: Think outside-the-box, literally!
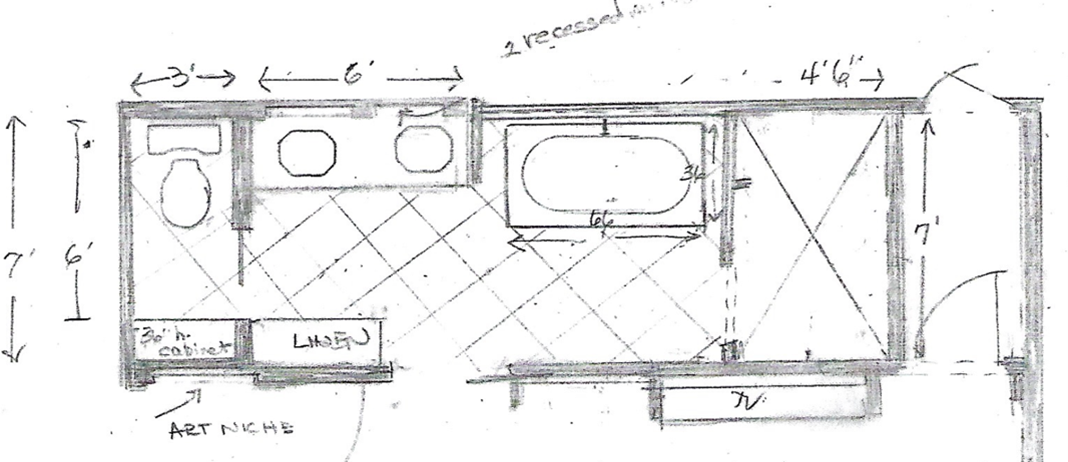
Before remodeling, ask yourself if you have the right amount of space. If you would like a larger bathroom, you may be able to take some space from an adjacent room. In this remodel, I re-designed my clients’ cramped bathroom to expand at one side into a small closet which provided a more luxurious amount of space. Also, this bathroom was only 7’ wide so, my contractor and I added depth to the long wall by moving it 12” into attic space.
Tip #:2 Remember Your P’s
Proper Placement and Positioning, that is. The decision for the placement of the soaking tub and standing faucet needs to come early in the construction of the bathroom. This is a critical decision for both aesthetics and function.
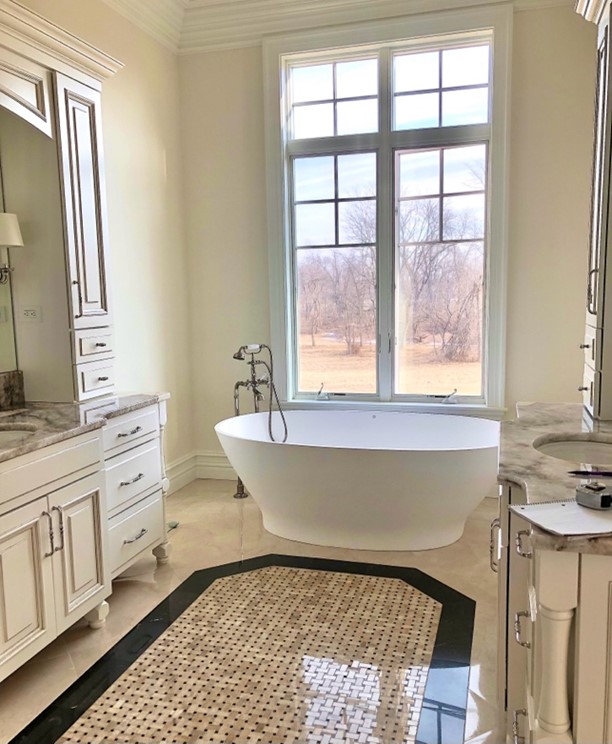
I never place the faucet behind the tub—that would mean reaching over the tub or walking around the tub to turn the faucet on each time. I always position the faucet to one side or another. Choose a size of tub that allows space around it for shades or draperies.
Tip #3: Become a Master of Matching
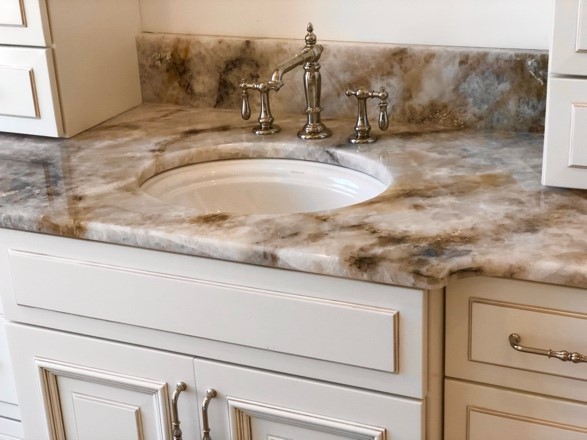
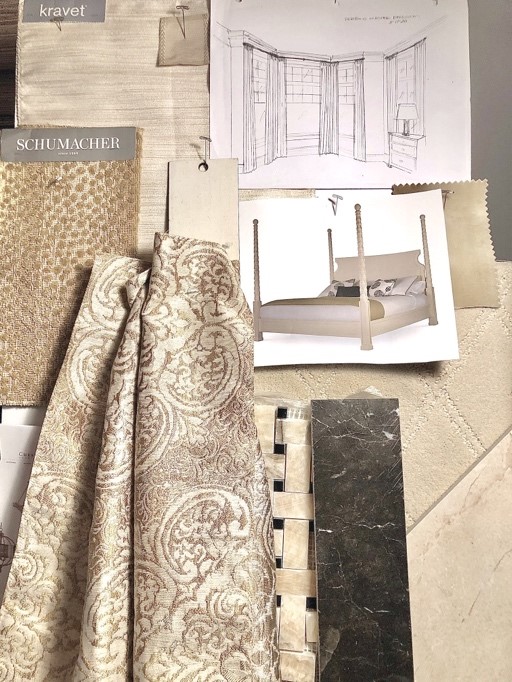
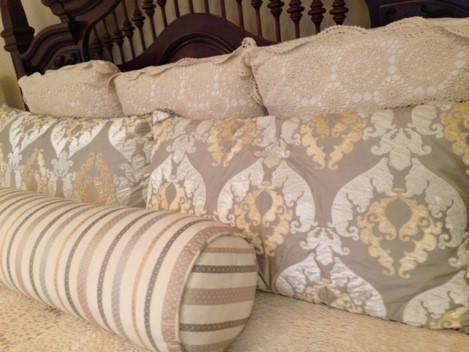
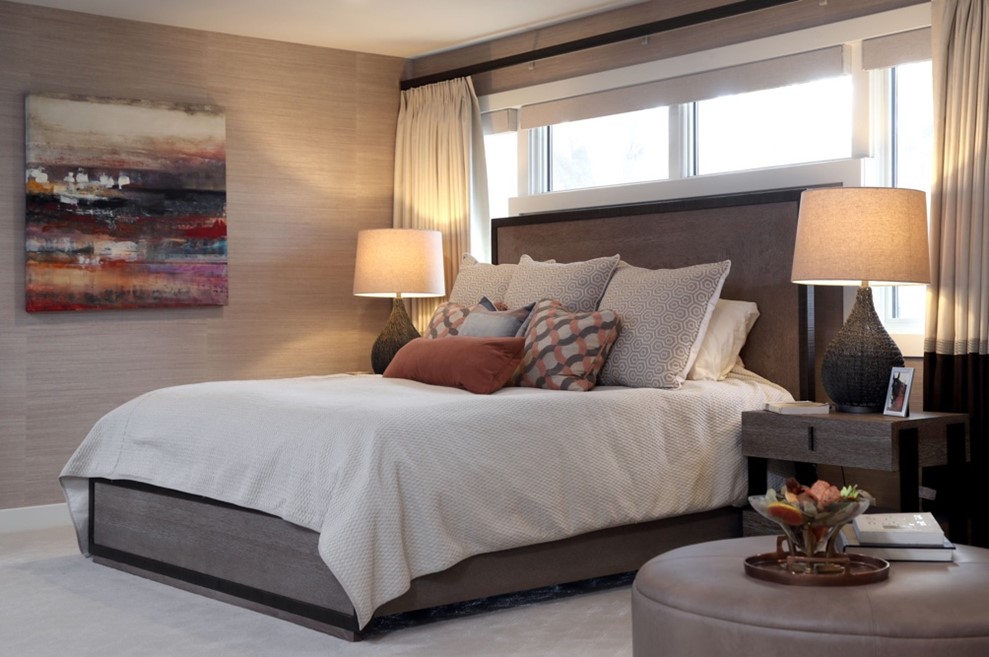
Why am I showing fabrics and bedroom furniture photos? Because it is important to consider the color scheme of the master bedroom when beginning the design process for the master bathroom. As the house construction started, we used her existing master bedroom fabrics and color scheme to help select the countertops, flooring and tiles. This gives a lovely continuity from bedroom to bathroom.
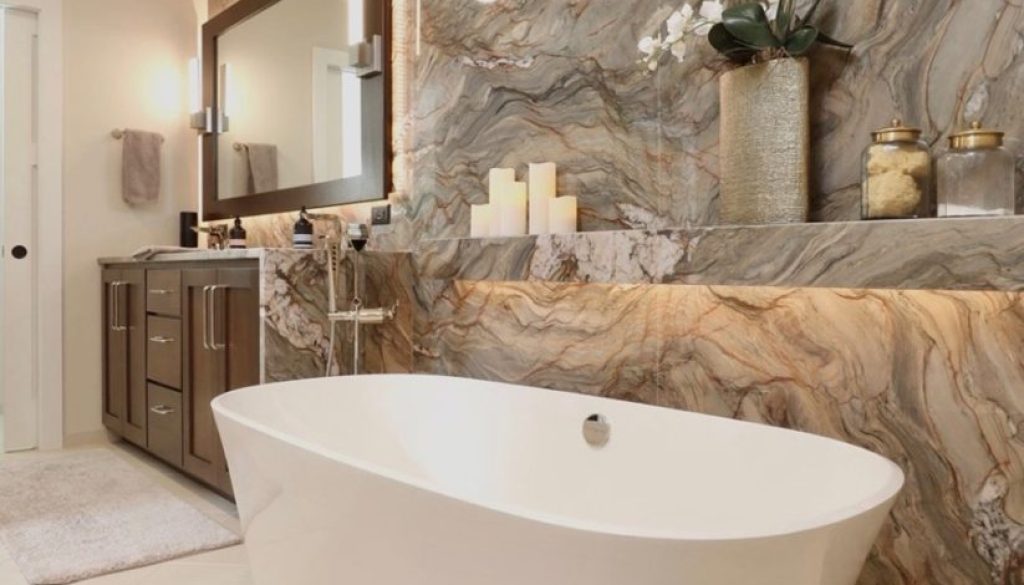
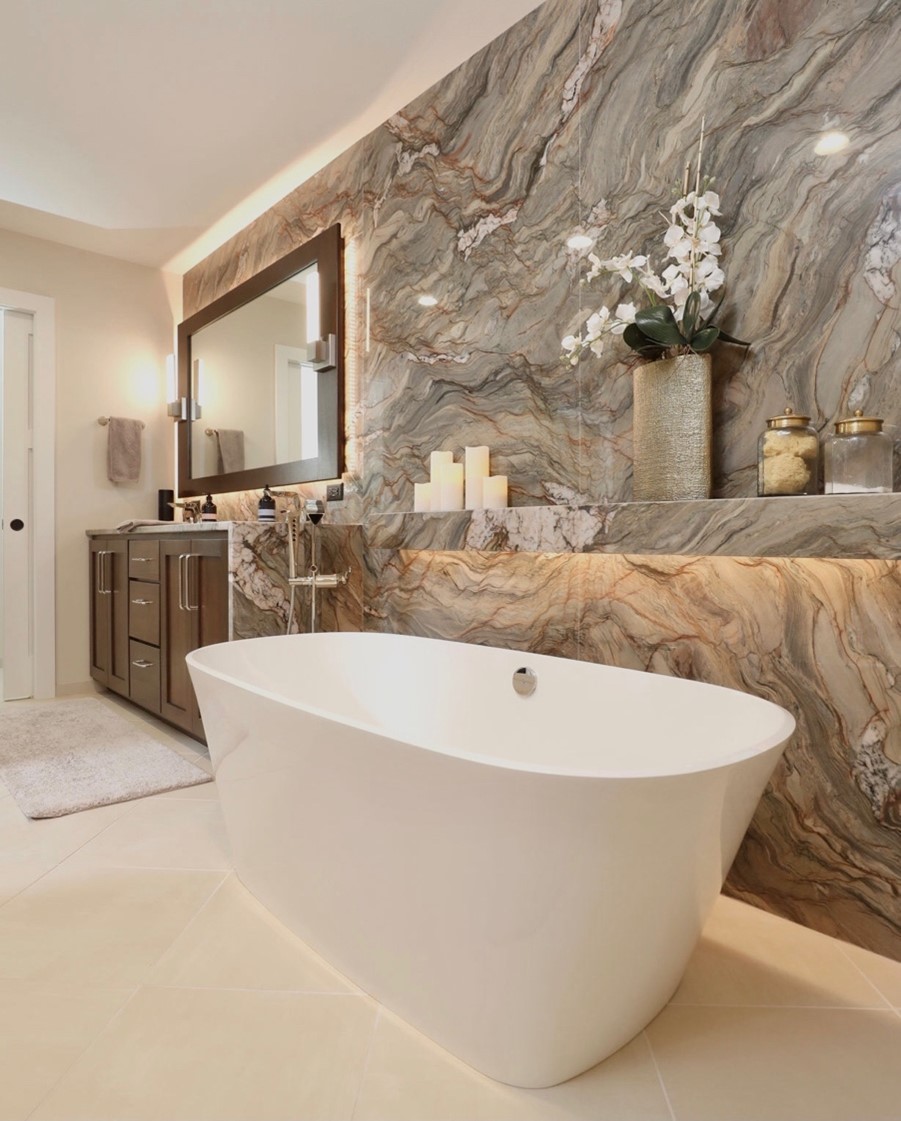
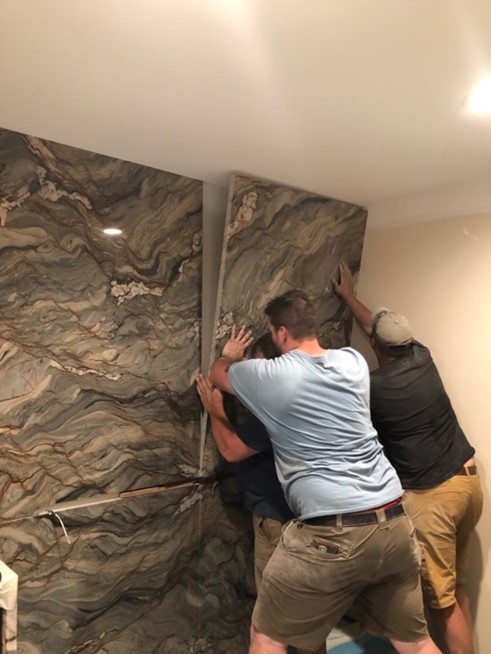
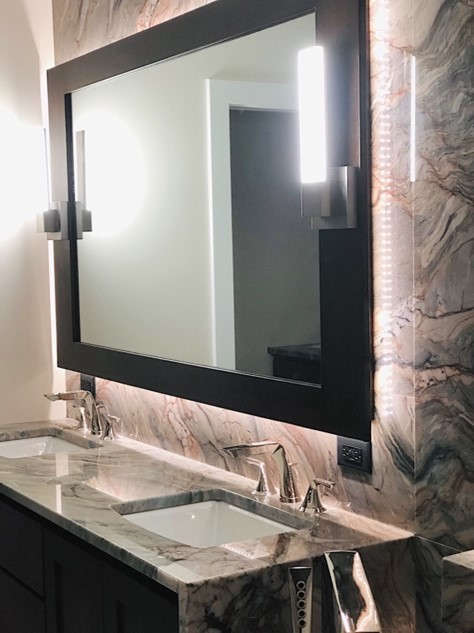
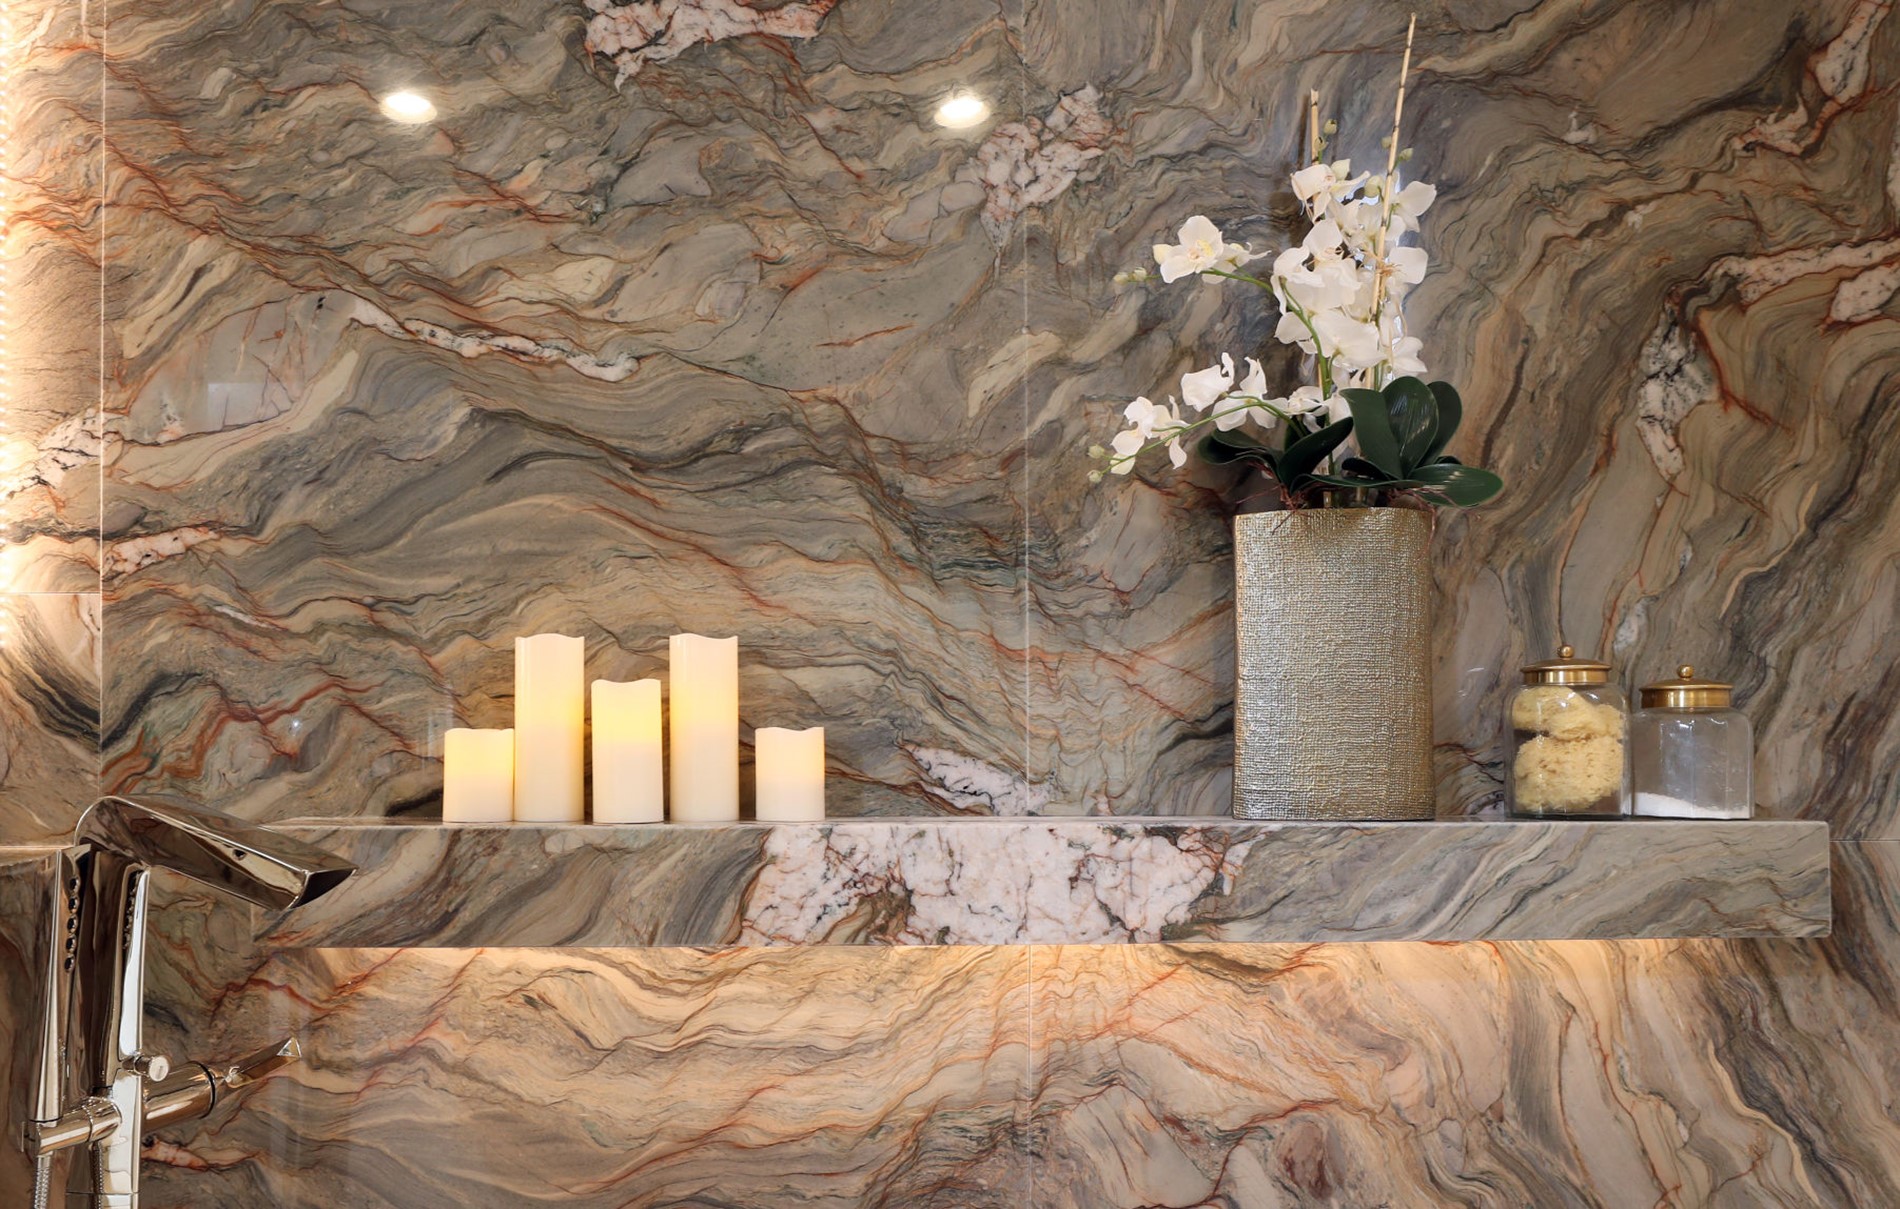
For my clients that were choosing to remodel their master bathroom, it was a different story. They had no specific color scheme in mind and ended up walking into the slab yard where they fell in love with the dramatic quartzite, “Fusion”. We used this stone with book-matched veining as a full-wall backdrop and waterfall vanity counter.
So, we took the coordination in the opposite direction, and I planned the rest of the master bedroom furnishings to complement Fusion quartzite’s earthy coloring.
Tip # 4: Light It Up
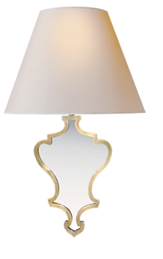
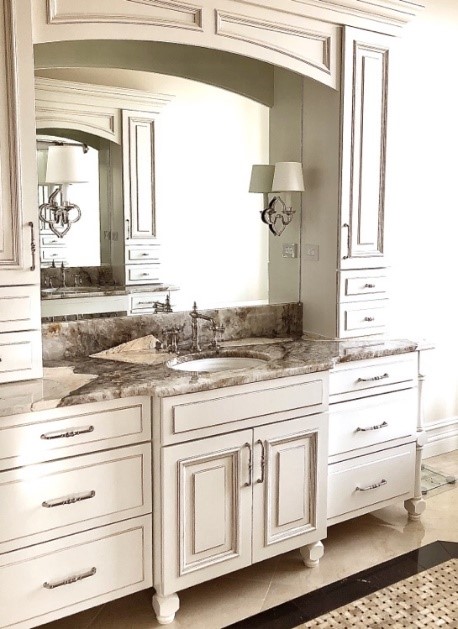
The most important task for master bathroom lighting is the sink and its mirror. Followed by adequate ceiling lighting, where I find that 4” diameter recessed lights are the best- but not too many of them. I prefer to avoid putting any lighting directly above the mirror as this can cause shadows and prefer to use wall-mounted sconces flanking the mirror instead. This provides more flattering lighting that is better suited for applying makeup and shaving.
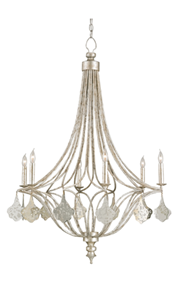
In this traditional master bathroom, the sconces were installed on the mirror. For a fun finishing touch, a light fixture over the tub adds a lovely glow in the evening and should coordinate with the sconces.
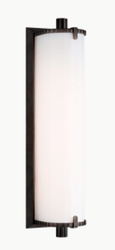
My remodel clients had a more contemporary style. So, for the vanity lighting for these clients, I used frosted glass cylinder wall sconces. The contractor recessed indirect lighting behind the walnut-framed mirror.
And the “pièce de résistance” for this bathroom is indirect lighting under the quartzite ledge next to the soaking tub. We used small but innovative details to make this bathroom amazing!
Tip #5: Invest in the Little Luxuries
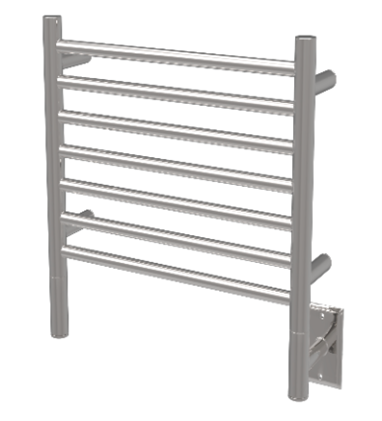
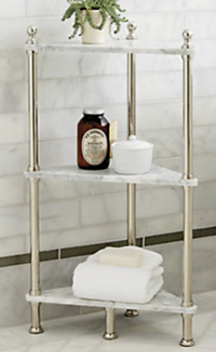
The master bath should be a room in your home you look forward to entering to make mornings easier or unwind at the end of the day. By putting a little extra effort into planning for these creature comforts now, you’ll thank yourself later!

I look forward to hearing about how you choose to create your own personal oasis! See you next time!

