My Farmhouse Kitchen Remodel: Part Two
Welcome back to my kitchen remodel series!
I am taking a deep dive into the remodel of my 1923 Foursquare farmhouse. Earlier I discussed the planning stage and now I will focus on the final steps of our successful kitchen remodel!
From start to finish, the kitchen remodel took about seven months. Before and after’s are always fun but do not show the full picture! Along the way is demolition, appliance and fixture selection, and all the finishing touches. But, as you can see, it is all worth it!
Demolition
The nitty gritty of it all! Within a few months of purchasing our farmhouse, it was time to go to work. My contractor removed the plaster down to the lath. Literally peeling back the layers and exposing the original green paint of the kitchen my great-great auth and uncle selected when the home was first built in 1923.
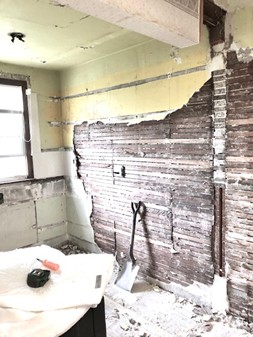
The kitchen required some major updating. From the placement of appliances to new ceiling lighting and outlets. Since I wanted to move the sink and dishwasher, that meant I would need new rough plumbing and venting for the range.
Choosing the Cabinets and Final Layout
Once the layout was decided and the drywall was finished, my kitchen cabinet company came to measure the walls. With the order finalized, new cabinets were on their way!
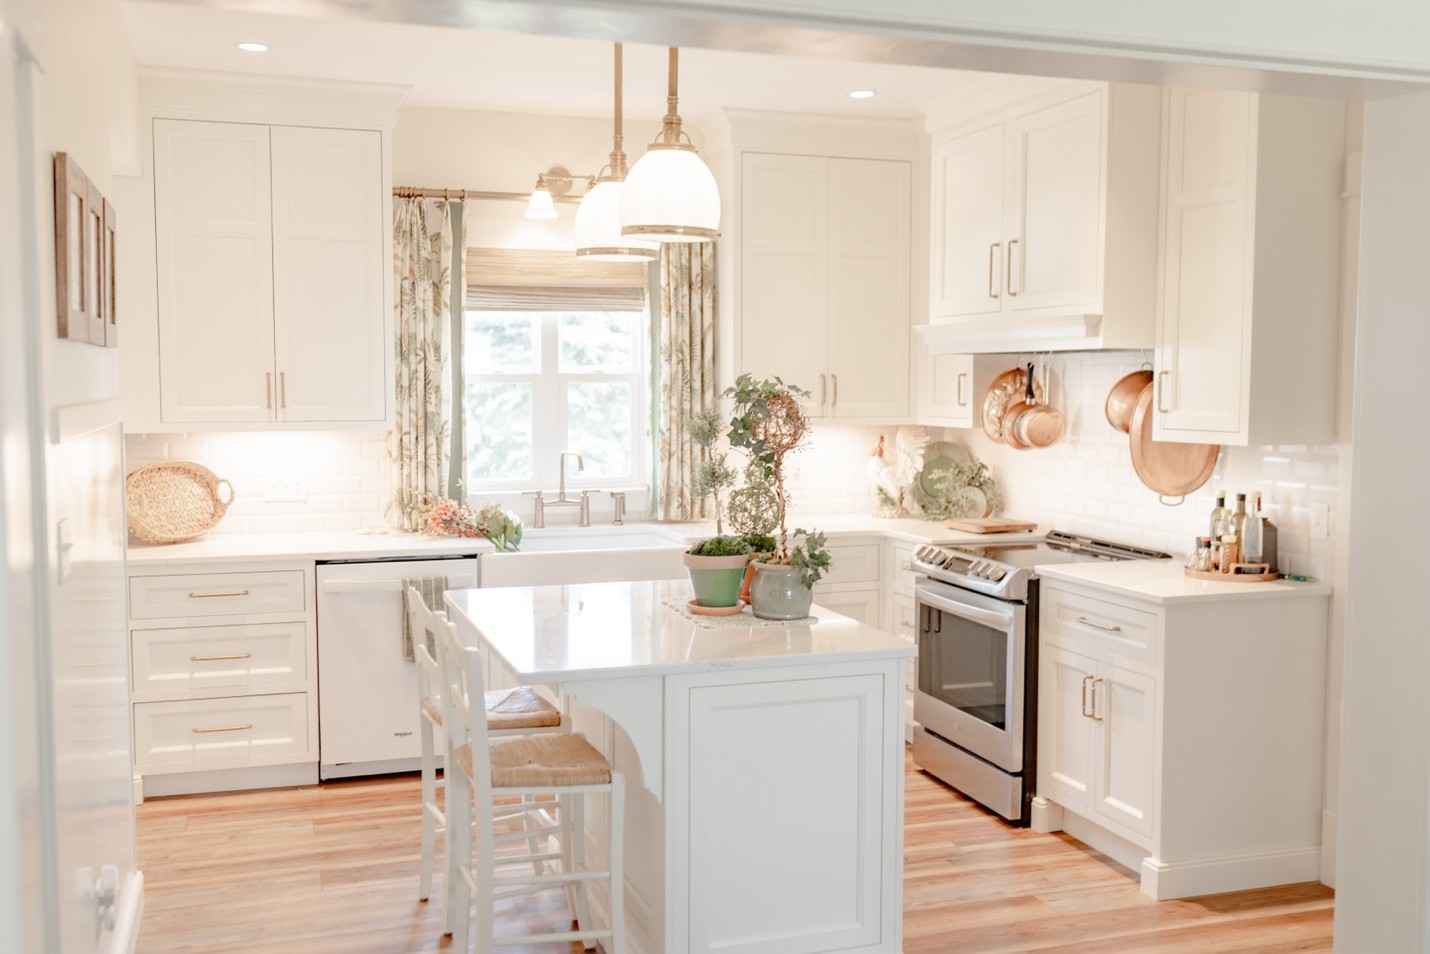
To accomplish the L-shape kitchen I desired, we combined the former kitchen space with the narrow pantry for extra space. Even with the overhead beam remaining where it was, everything fit snugly into place!
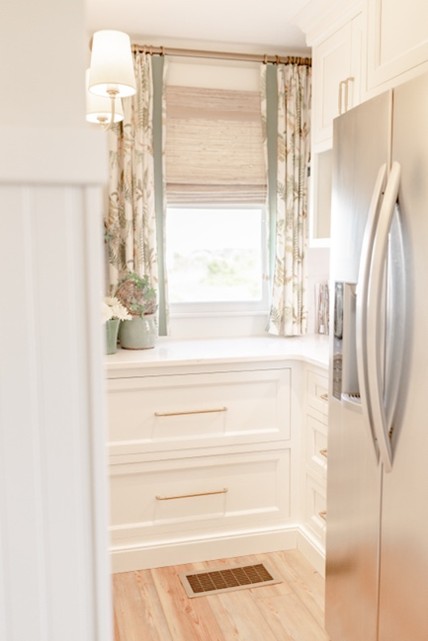
The end result was a cozy baking center with a window view! It was was a much better use of space.
All the Extras
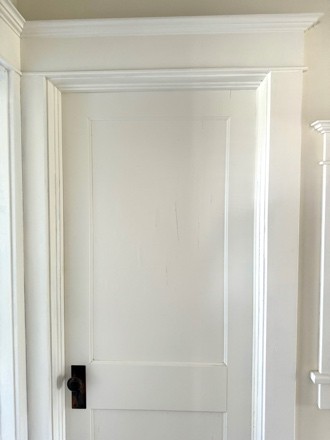
A tip for choosing the kitchen door style: match your new cabinets to the existing interior doors. This allows a seamless flow from old to new without redoing everything. Our farmhouse has Craftsman style doors throughout, so we went with an inset cabinet door style with angled beading. We used Shiloh Cabinetry and love it!
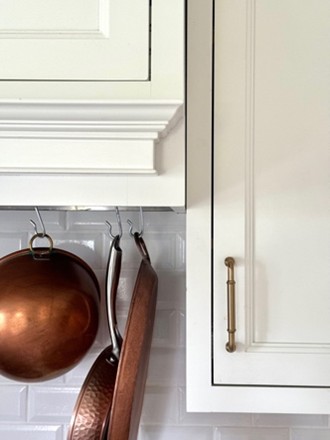
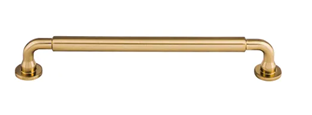
A favorite tip: As much as I love a traditional drawer pull, the underneath of a cup pull is such a pain to clean! Instead I went with a more practical handle style.
Lighting:
People, including myself, love recessed lighting. But it can easily be overdone, so I caution against using it too much! For our kitchen, I used just four 4″ diameter can lights. Those four lights, one in each corner plus one centered in the baking area, were perfect with the undercounter lighting.
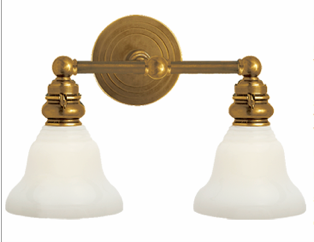
Instead of too many recessed lighting, I love these antique brass light fixtures for the rest of the area. They provide fantastic ambiance with the option to dim the light!

Flooring:
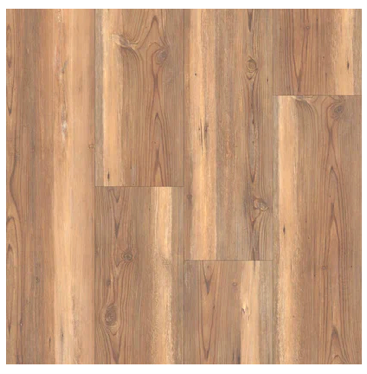
I wanted to look of real wood with the versatility of laminate. I chose a Masland laminate flooring. It is amazing! It feels like real wood underfoot and is placed in individual planks. The coloring blends perfectly with the original heart-of-pine planks throughout the house.
And there you have it! I hope that this series inspired you to tackle your own remodeling project!